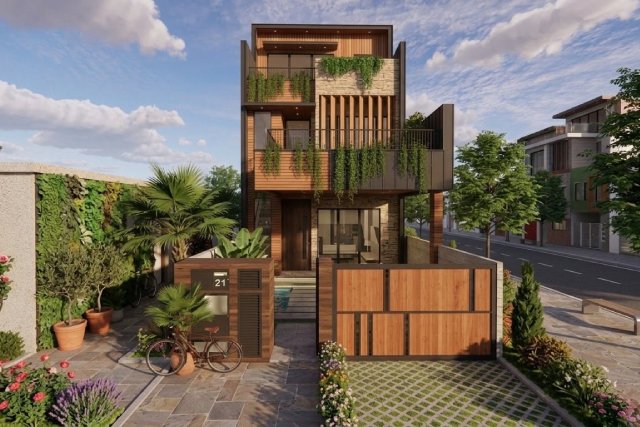
A landed house rebuild is one of the biggest decisions a homeowner in Singapore will ever make. Unlike a renovation, which works within the bones of an existing structure, a rebuild starts from the ground up. It often means tearing down the old house entirely and constructing a brand new one in its place, designed around how your family actually lives today rather than how the original owners lived decades ago.
If you have been eyeing your ageing terrace, semi-detached, or bungalow and wondering whether a landed house rebuild is the right move, you are not alone. Many homeowners reach a point where patchwork repairs no longer make sense, and starting fresh becomes the more practical choice. This guide walks you through the process step by step, so you know roughly what to expect from the first idea to the day you move back in.
Step 1: Decide why you are rebuilding
Before anything else, get clear on your reasons. Are you outgrowing the space because your family has grown? Is the house structurally tired, with cracks, leaks, or outdated wiring that keep cropping up? Or do you simply want a layout that suits modern living, with better natural light, an open kitchen, or a basement for extra space?
Knowing your “why” early on will shape every decision that follows, from the budget you set aside to the architect you choose to work with. This is also a good time to think about long-term goals for the home, such as planning for solar panel installation, so that these considerations can be factored into the design from the start rather than added on as an afterthought.
Step 2: Check feasibility with URA guidelines
Singapore has clear planning guidelines set by the Urban Redevelopment Authority (URA) that govern how much you can build on your plot. Factors such as plot ratio, building height, setback distances, and site coverage all affect what is possible. Some plots also fall under conservation guidelines or have specific restrictions tied to the surrounding estate, so it pays to check this early rather than assume your neighbour’s approved design will automatically work for your own lot. Before you fall in love with a design, it helps to have a quick feasibility check done so you know the realistic boundaries of your landed house rebuild from the start.
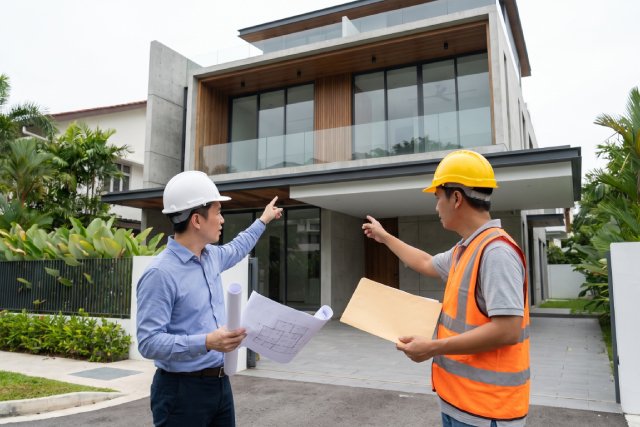
Step 3: Engage the right professionals
A successful rebuild relies on a good team. At minimum, you will need:
- A qualified person, usually an architect or engineer, to draw up plans and submit them for approval.
- A structural engineer to handle the technical calculations.
- A main contractor to carry out the construction.
- A project manager or coordinator, sometimes the same person as your contractor, to keep everyone aligned.
If coordinating several parties sounds like a lot, a competent design and build contractor can take on most of these roles instead, giving you a single point of contact from drawings through to handover.
Step 4: Apply for approvals
Once your design is ready, your appointed professional will submit plans to the relevant authorities, including URA for planning permission and the Building and Construction Authority for structural approval. Other agencies, such as the Public Utilities Board or the National Environment Agency, may also need to weigh in depending on the specifics of your site. This stage can take a few months, so patience is needed here. Rushing through approvals or skipping steps tends to cause delays further down the line, so it would be good to get this part right the first time.
Step 5: Demolition and site preparation
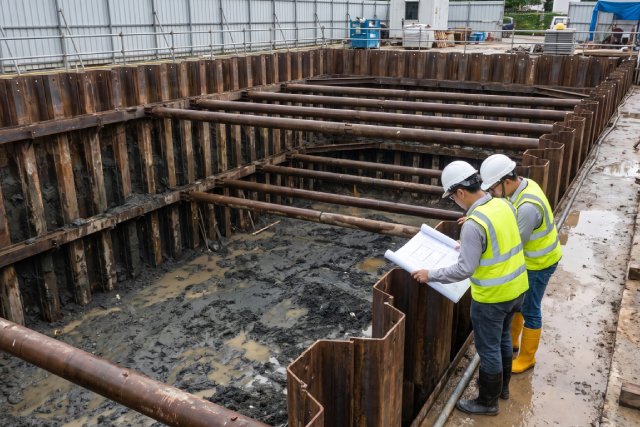
With approvals in hand, the existing structure is demolished, and the site is cleared. This stage also includes soil investigation works, especially if the original house was built decades ago and soil conditions may have shifted. Utilities such as water, electrical, and sewage connections are also assessed and prepared for the new build.
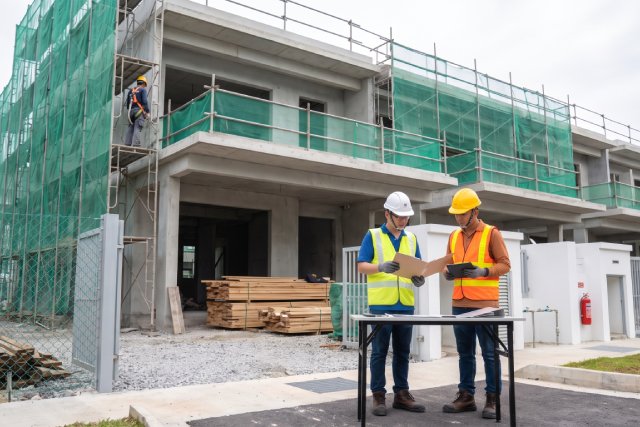
Step 6: Construction begins
This is where your rebuild really starts to take shape. Construction typically follows this rough sequence:
1. Foundation and substructure works
2. Structural framework, including columns, beams, and slabs
3. Roofing and external walls
4. Mechanical, electrical, and plumbing installations
5. Internal finishes such as flooring, painting, and fittings
6. Landscaping and external works
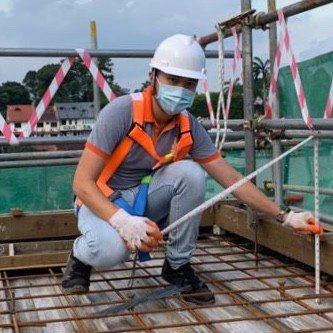
Throughout this period, regular site visits help you catch issues early and confirm that the work matches what was agreed upon in the contract.
Step 7: Consider sustainability features
Many homeowners now use the rebuild as an opportunity to future-proof their homes. This might include better insulation, rainwater harvesting systems, or renewable energy systems to reduce long-term electricity costs. Since the entire structure is being rebuilt from scratch, it is far easier and cheaper to incorporate these features now rather than retrofitting them later.
Step 8: Final inspections and handover
Before you can move in, the building needs to pass inspections from the relevant authorities, including a Temporary Occupation Permit and eventually a Certificate of Statutory Completion. Your contractor should also walk you through a final defects check, where any minor issues are flagged and rectified before handover.
How long does a rebuild take?
Timelines vary depending on the size and complexity of the project, but homeowners should generally set aside between 18 to 24 months from the planning stage to completion. This includes design development, approvals, demolition, and construction. Larger plots, more elaborate designs, or basement levels can stretch this timeline further, while simpler rebuilds on straightforward sites may move a little faster. Delays can happen, particularly during the approval stage or if changes are made midway, so building in some buffer time is a sensible move for most families.
Common mistakes to avoid
A few pitfalls tend to trip up first-time rebuilders:
- Underestimating the budget and not setting aside a contingency fund.
- Choosing a contractor based on price alone without checking past work.
- Making too many design changes once construction has started.
- Skipping proper documentation of agreements and variations.
Avoiding these issues from the outset can save you a fair amount of stress, time, and money as the project progresses.
Conclusion
Rebuilding a landed home is a significant undertaking, but it does not have to feel overwhelming when you understand the process and work with the right people. From the initial planning stage through to handover, having a clear roadmap helps you make informed decisions at every turn and feel confident about the home you are building for your family’s future.
If you are ready to start planning, Kang Sheng Engineering offers design-build services and general contracting services for both residential and commercial projects, giving you a single point of contact from concept to completion. Get in touch with our team today to discuss your project and take the first step towards the home you have been picturing.